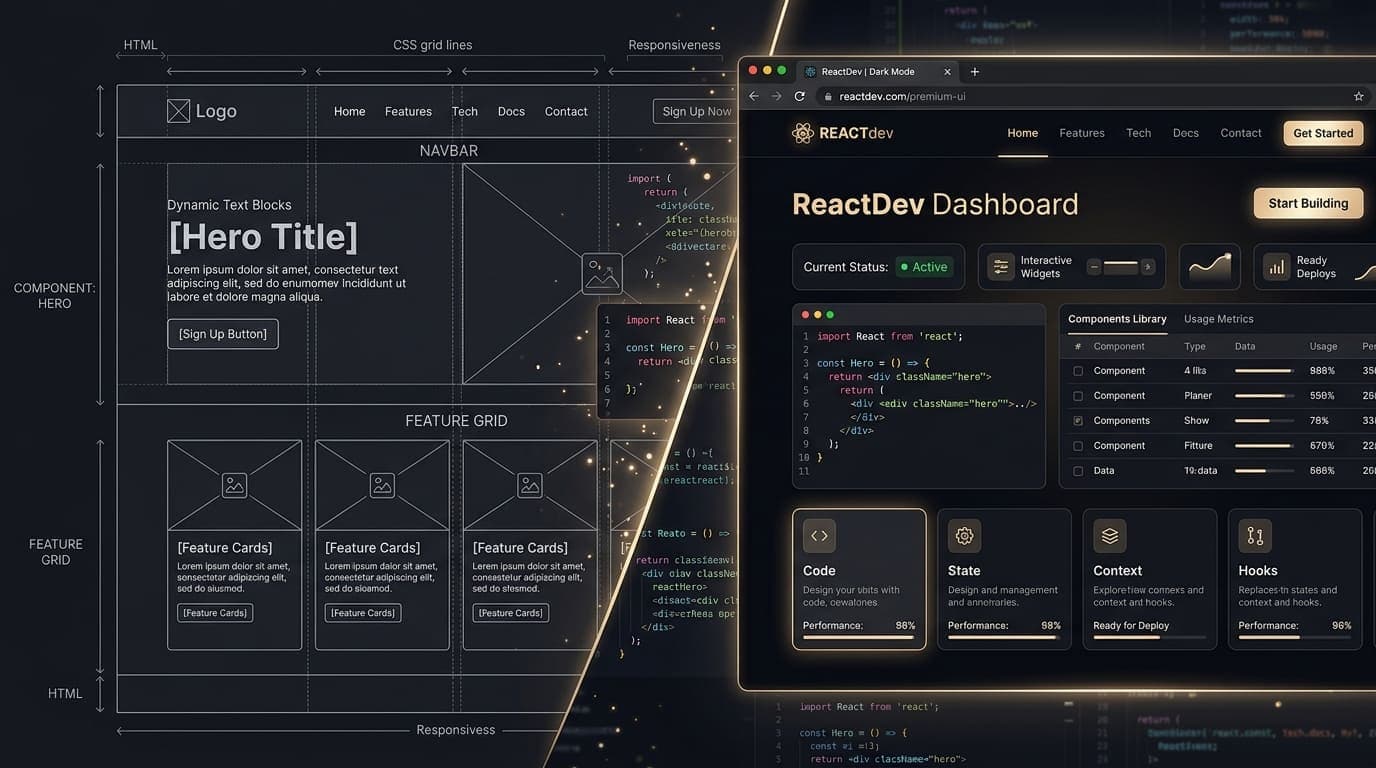
Building a portfolio is a rite of passage for every developer. But for this iteration, I wanted to go beyond just showing links to my projects. I wanted the portfolio itself to be a statement of my skills.
In this post, I'll walk you through how I built my interactive portfolio using Next.js 16, Tailwind CSS V4, Framer Motion, and Three.js.
1. The Architecture
I chose Next.js (App Router) for its incredible performance and out-of-the-box SEO optimizations. Since my goal is to attract high-ticket freelance clients, passing Core Web Vitals with a 100/100 Lighthouse score was non-negotiable.
Here is the tech stack breakdown:
- Framework: Next.js (App Router)
- Styling: Tailwind CSS V4
- Animations: Framer Motion & GSAP
- 3D Elements:
@react-three/fiber&@react-three/drei - Contact Form: React Hook Form + Zod (Validation) + Web3Forms
2. 3D Elements with React Three Fiber
To make the hero section truly stand out, I integrated a 3D canvas. Instead of writing raw WebGL, I used react-three-fiber which provides a declarative React API for Three.js.
import { Canvas } from "@react-three/fiber";
import { OrbitControls, Sphere, MeshDistortMaterial } from "@react-three/drei";

export default function Demo3DCanvas() {
  return (
    <Canvas>
      <ambientLight intensity={0.8} />
      <directionalLight position={[2, 3, 2]} />
      <Sphere args={[1, 64, 64]} scale={1.5}>
        <MeshDistortMaterial
          color="#4f46e5"
          attach="material"
          distort={0.3}
          speed={2}
          roughness={0.4}
        />
      </Sphere>
      <OrbitControls enableZoom={false} />
    </Canvas>
  );
}
This creates a beautiful, distorted, floating sphere that reacts to the environment, giving the hero section a premium "Awwwards" feel.
3. The Power of Framer Motion
For page transitions and micro-interactions, I relied heavily on framer-motion. One of my favorite components is the MagneticButton. It uses mouse position tracking to pull the button towards the cursor when hovering.
Creating a magnetic button instantly elevates the UX from standard to premium.
4. Final Thoughts
Building this portfolio was an incredible journey. It pushed me to learn more about WebGL performance and advanced layout animations.
If you're looking for a developer to bring your crazy design ideas to life, let's get in touch!